“Double Diamond” vs. “6 Phases of Design Thinking”
Before we dive into details, I want to briefly describe the relationship between “Double Diamond” and the “6 Phases of Design Thinking” so that it is understandable how closely both concepts are intertwined.
The “Double Diamond” and the “6 Phases of Design Thinking” are two concepts that are often associated with each other because they overlap in certain ways. Both approaches are methods for the creative problem-solving process, but they have different focuses and emphases. It can be said that the phases of the “Double Diamond” can be related to the “6 Phases of Design Thinking”.
The first space in the “Double Diamond” roughly corresponds to the first three phases of Design Thinking (Understanding, Observing, Defining Point of View), while the second space corresponds to the last three phases (Generating Ideas, Developing Prototype, Testing).
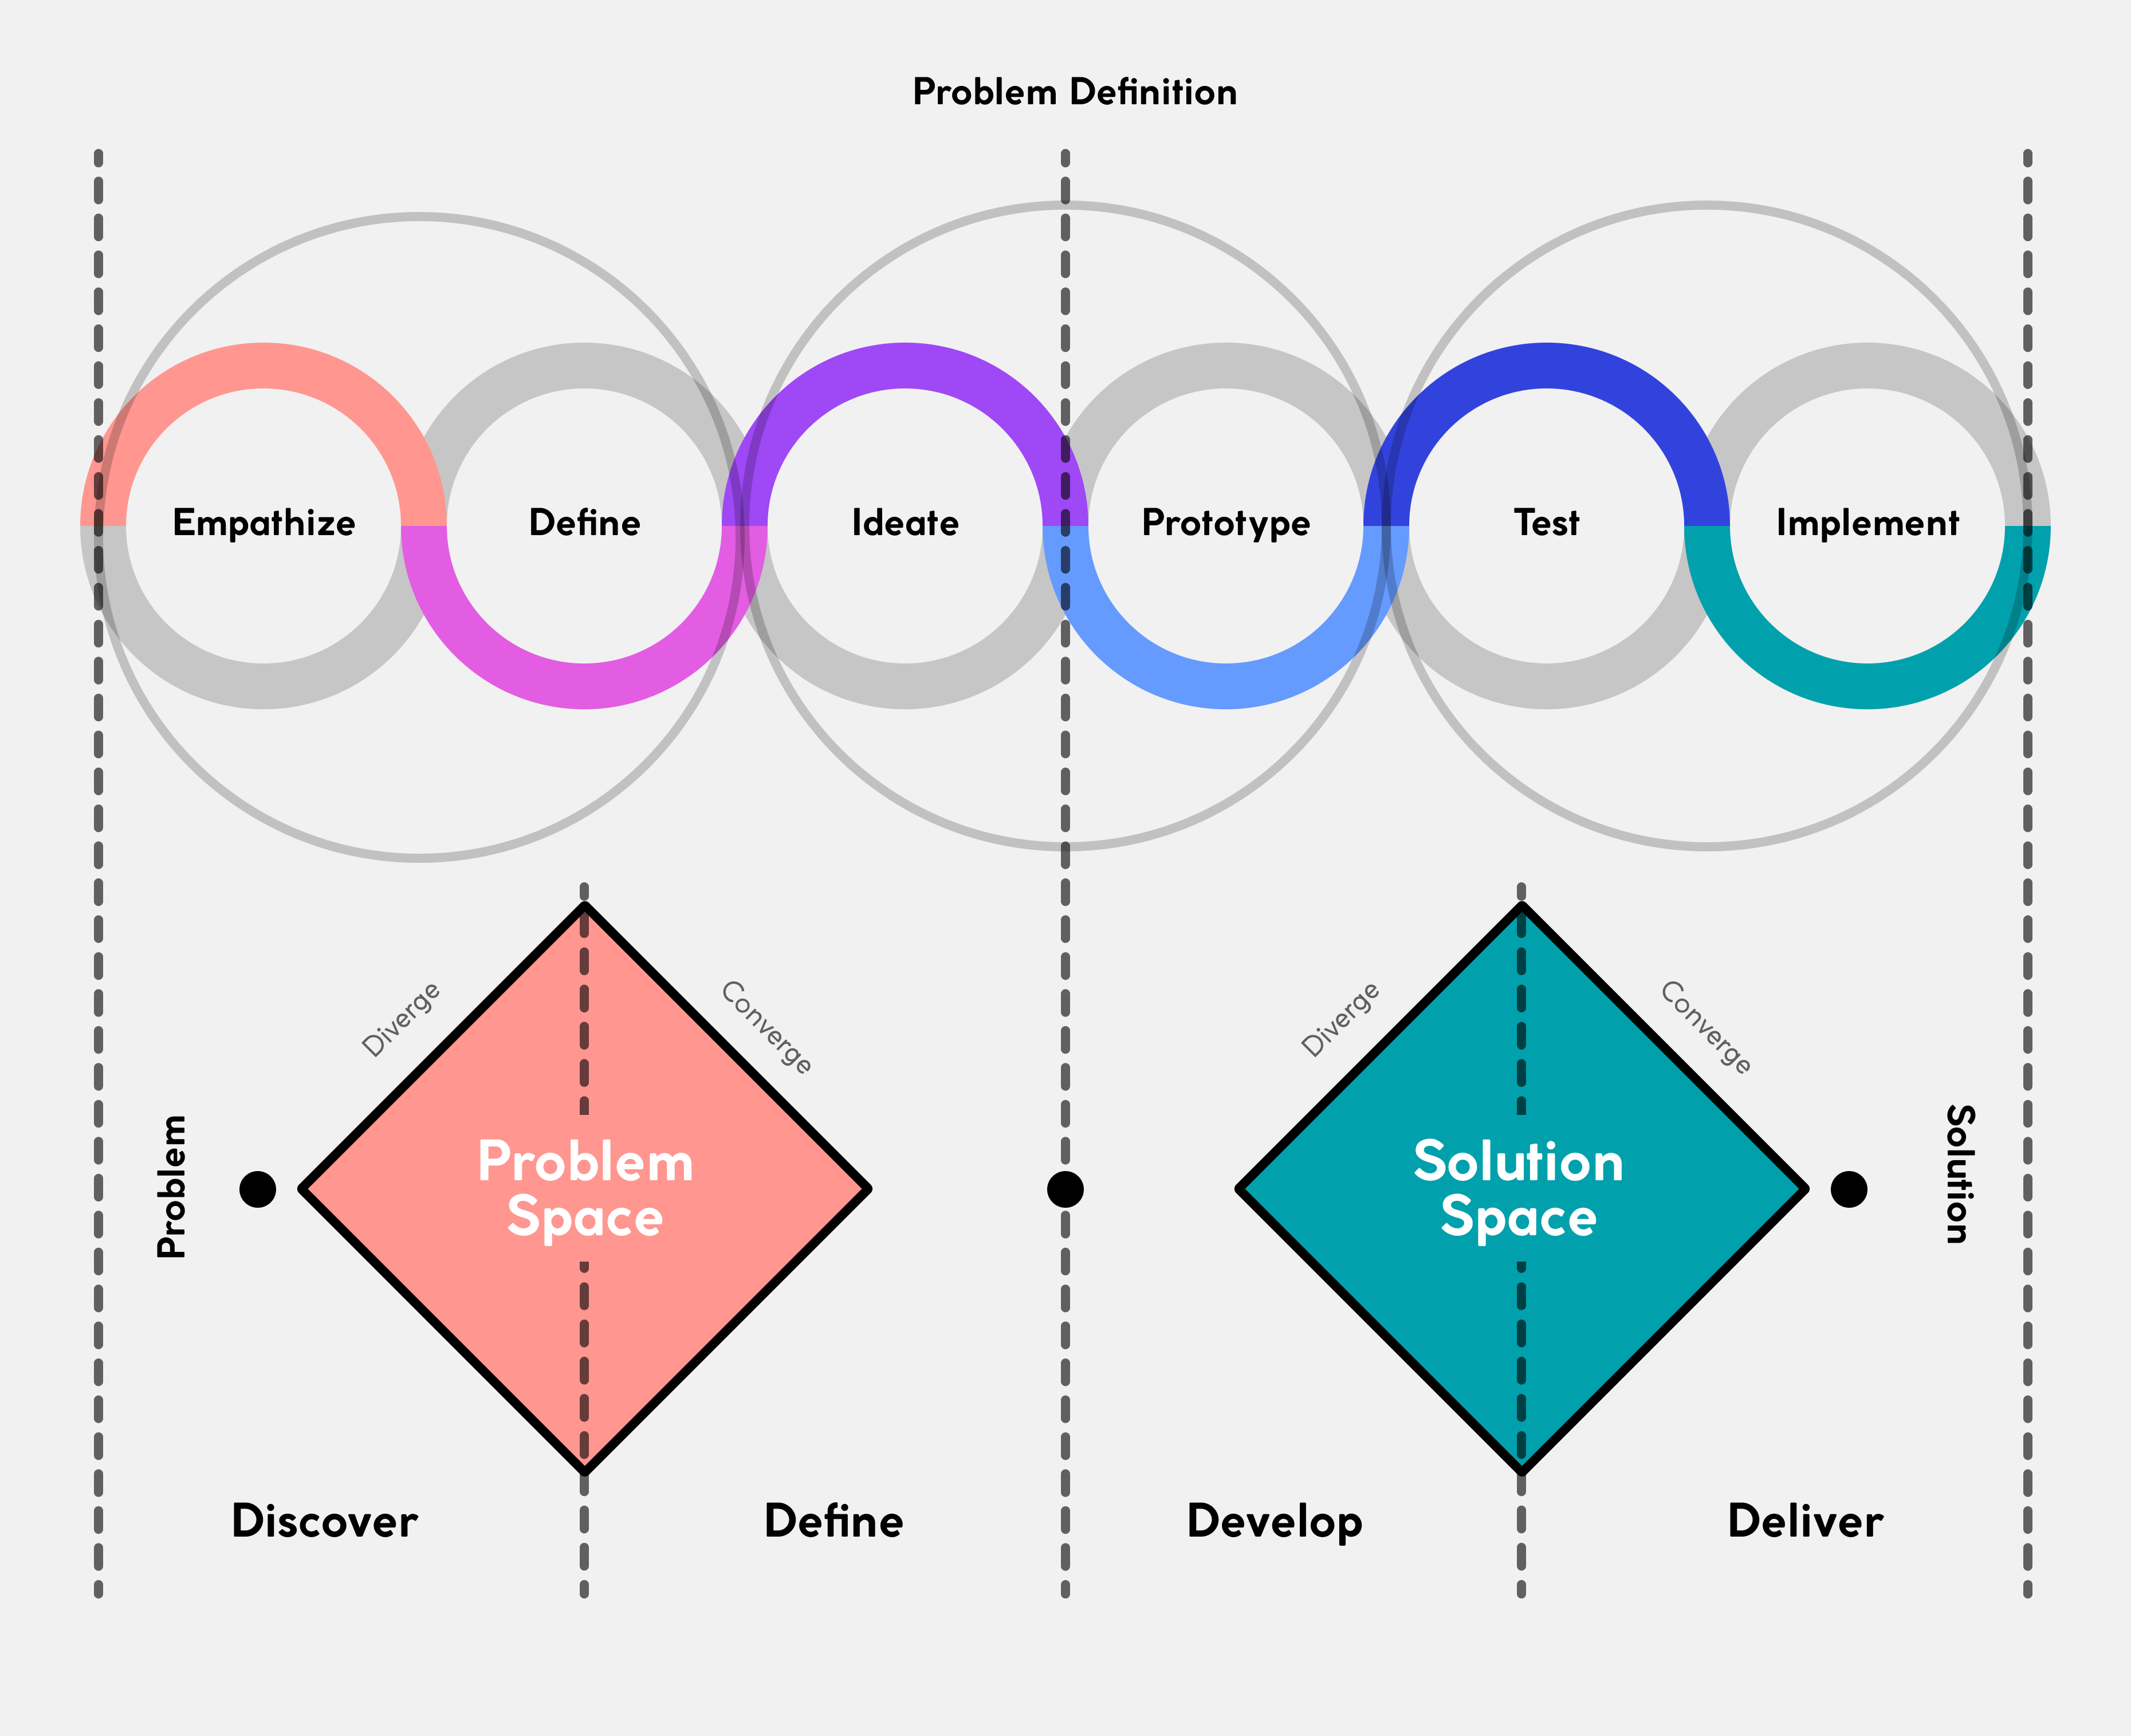
The “6 phases of Design Thinking”: Empathize, Define, Ideate, Prototype, Test and Implement form the basis for this article, in which I demonstrate which methods can be applied to each step. For each phase, I briefly describe these to you, with each section starting with the methods that I prefer myself or together with my team. Afterwards, I explain further methods, suitable for each step.
Note: It is absolutely necessary to emphasize that the methods partly overlap or can be applied to several phases, which makes the Design-Thinking-Process an exceptionally iterative and flexible approach.
Let’s get started. 🙂
Phase 1: Empathize
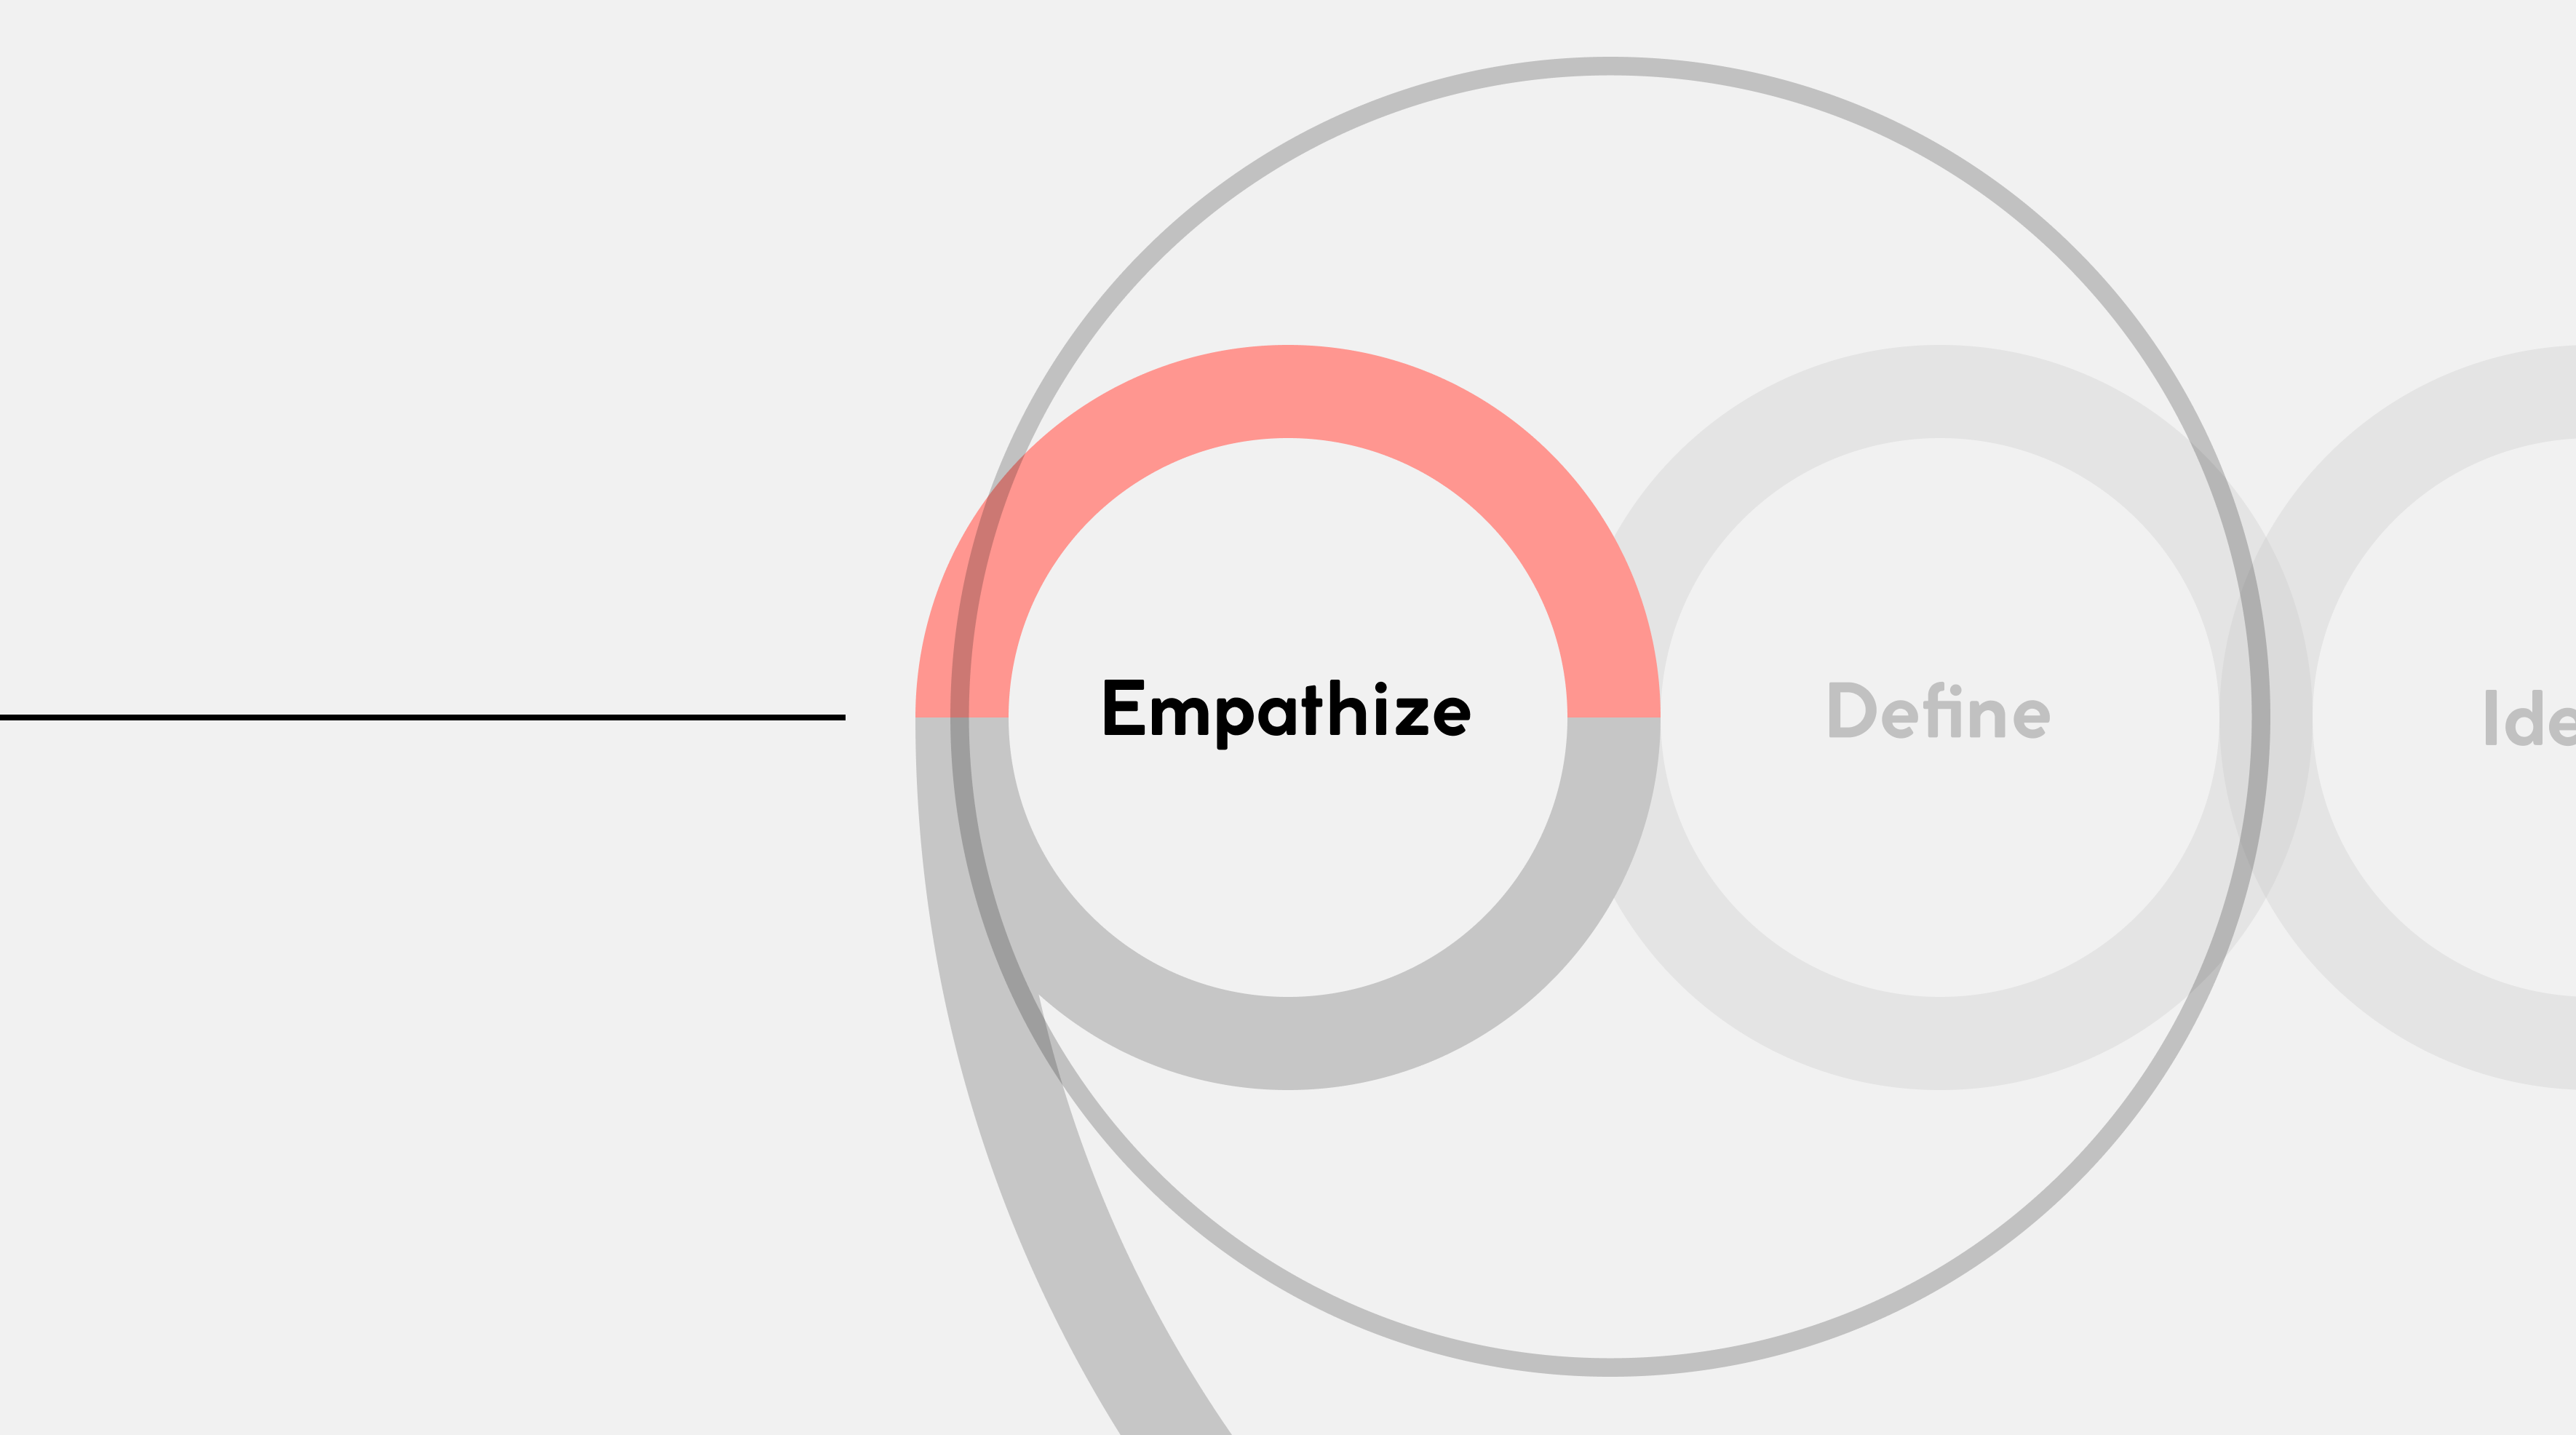
In the Design Thinking process, the Empathy Phase is crucial as it allows designers to develop a deep understanding of the needs, motivations and perspectives of users. It’s all about discovery, but not just about gathering superficial information, instead we try to fully understand the user and open up our perspectives. The goal is to gain as many meaningful insights as possible.
Methods that I like to use to understand the user and the problem from different perspectives:
Interviews
To gain a more comprehensive understanding of the experiences, needs and challenges, open and structured interviews with users and stakeholders are conducted. I like to use GoogleForms or Notion for documentation. In this way, with interviews, I can engage in a deeper discussion with the users and additionally give them the opportunity to share their perspectives with me in more detail. Try to listen closely, encourage your interviewees (no shared information is useless), ask follow-up questions and dig deep.
Useful sources: https://www.nngroup.com/articles/interview-guide/ https://www.nngroup.com/articles/qualitative-surveys/ https://www.interaction-design.org/literature/article/how-to-conduct-user-interviews
Personas
Personas are created to gain a deep and empathetic insight into the potential users or customers of a product or service solution. These fictional characters are usually based on information collected from previous interviews. Personas allow me as a designer to confidently and effectively put myself in the target groups and recognize the needs. I usually build my personas in Notion. There I can collect and structure all relevant content.
Useful sources: https://www.nngroup.com/articles/persona-types/ https://www.nngroup.com/articles/personas-study-guide/ https://www.berlinerteam.de/blog/persona-erstellen-design-thinking-marketing/
Further methods that can be applied in the first phase of Design Thinking:
Competitive Analysis
A Competitive Analysis allows companies to better understand how they can differentiate themselves to gain a competitive advantage. In doing so, the strengths and weaknesses of potential competitors are systematically evaluated. A well-founded Competitive Analysis is crucial for strategic planning and helps to make informed decisions to increase competitiveness.
Useful source: https://www.nngroup.com/articles/competitive-usability-evaluations/
Phase 2: Define
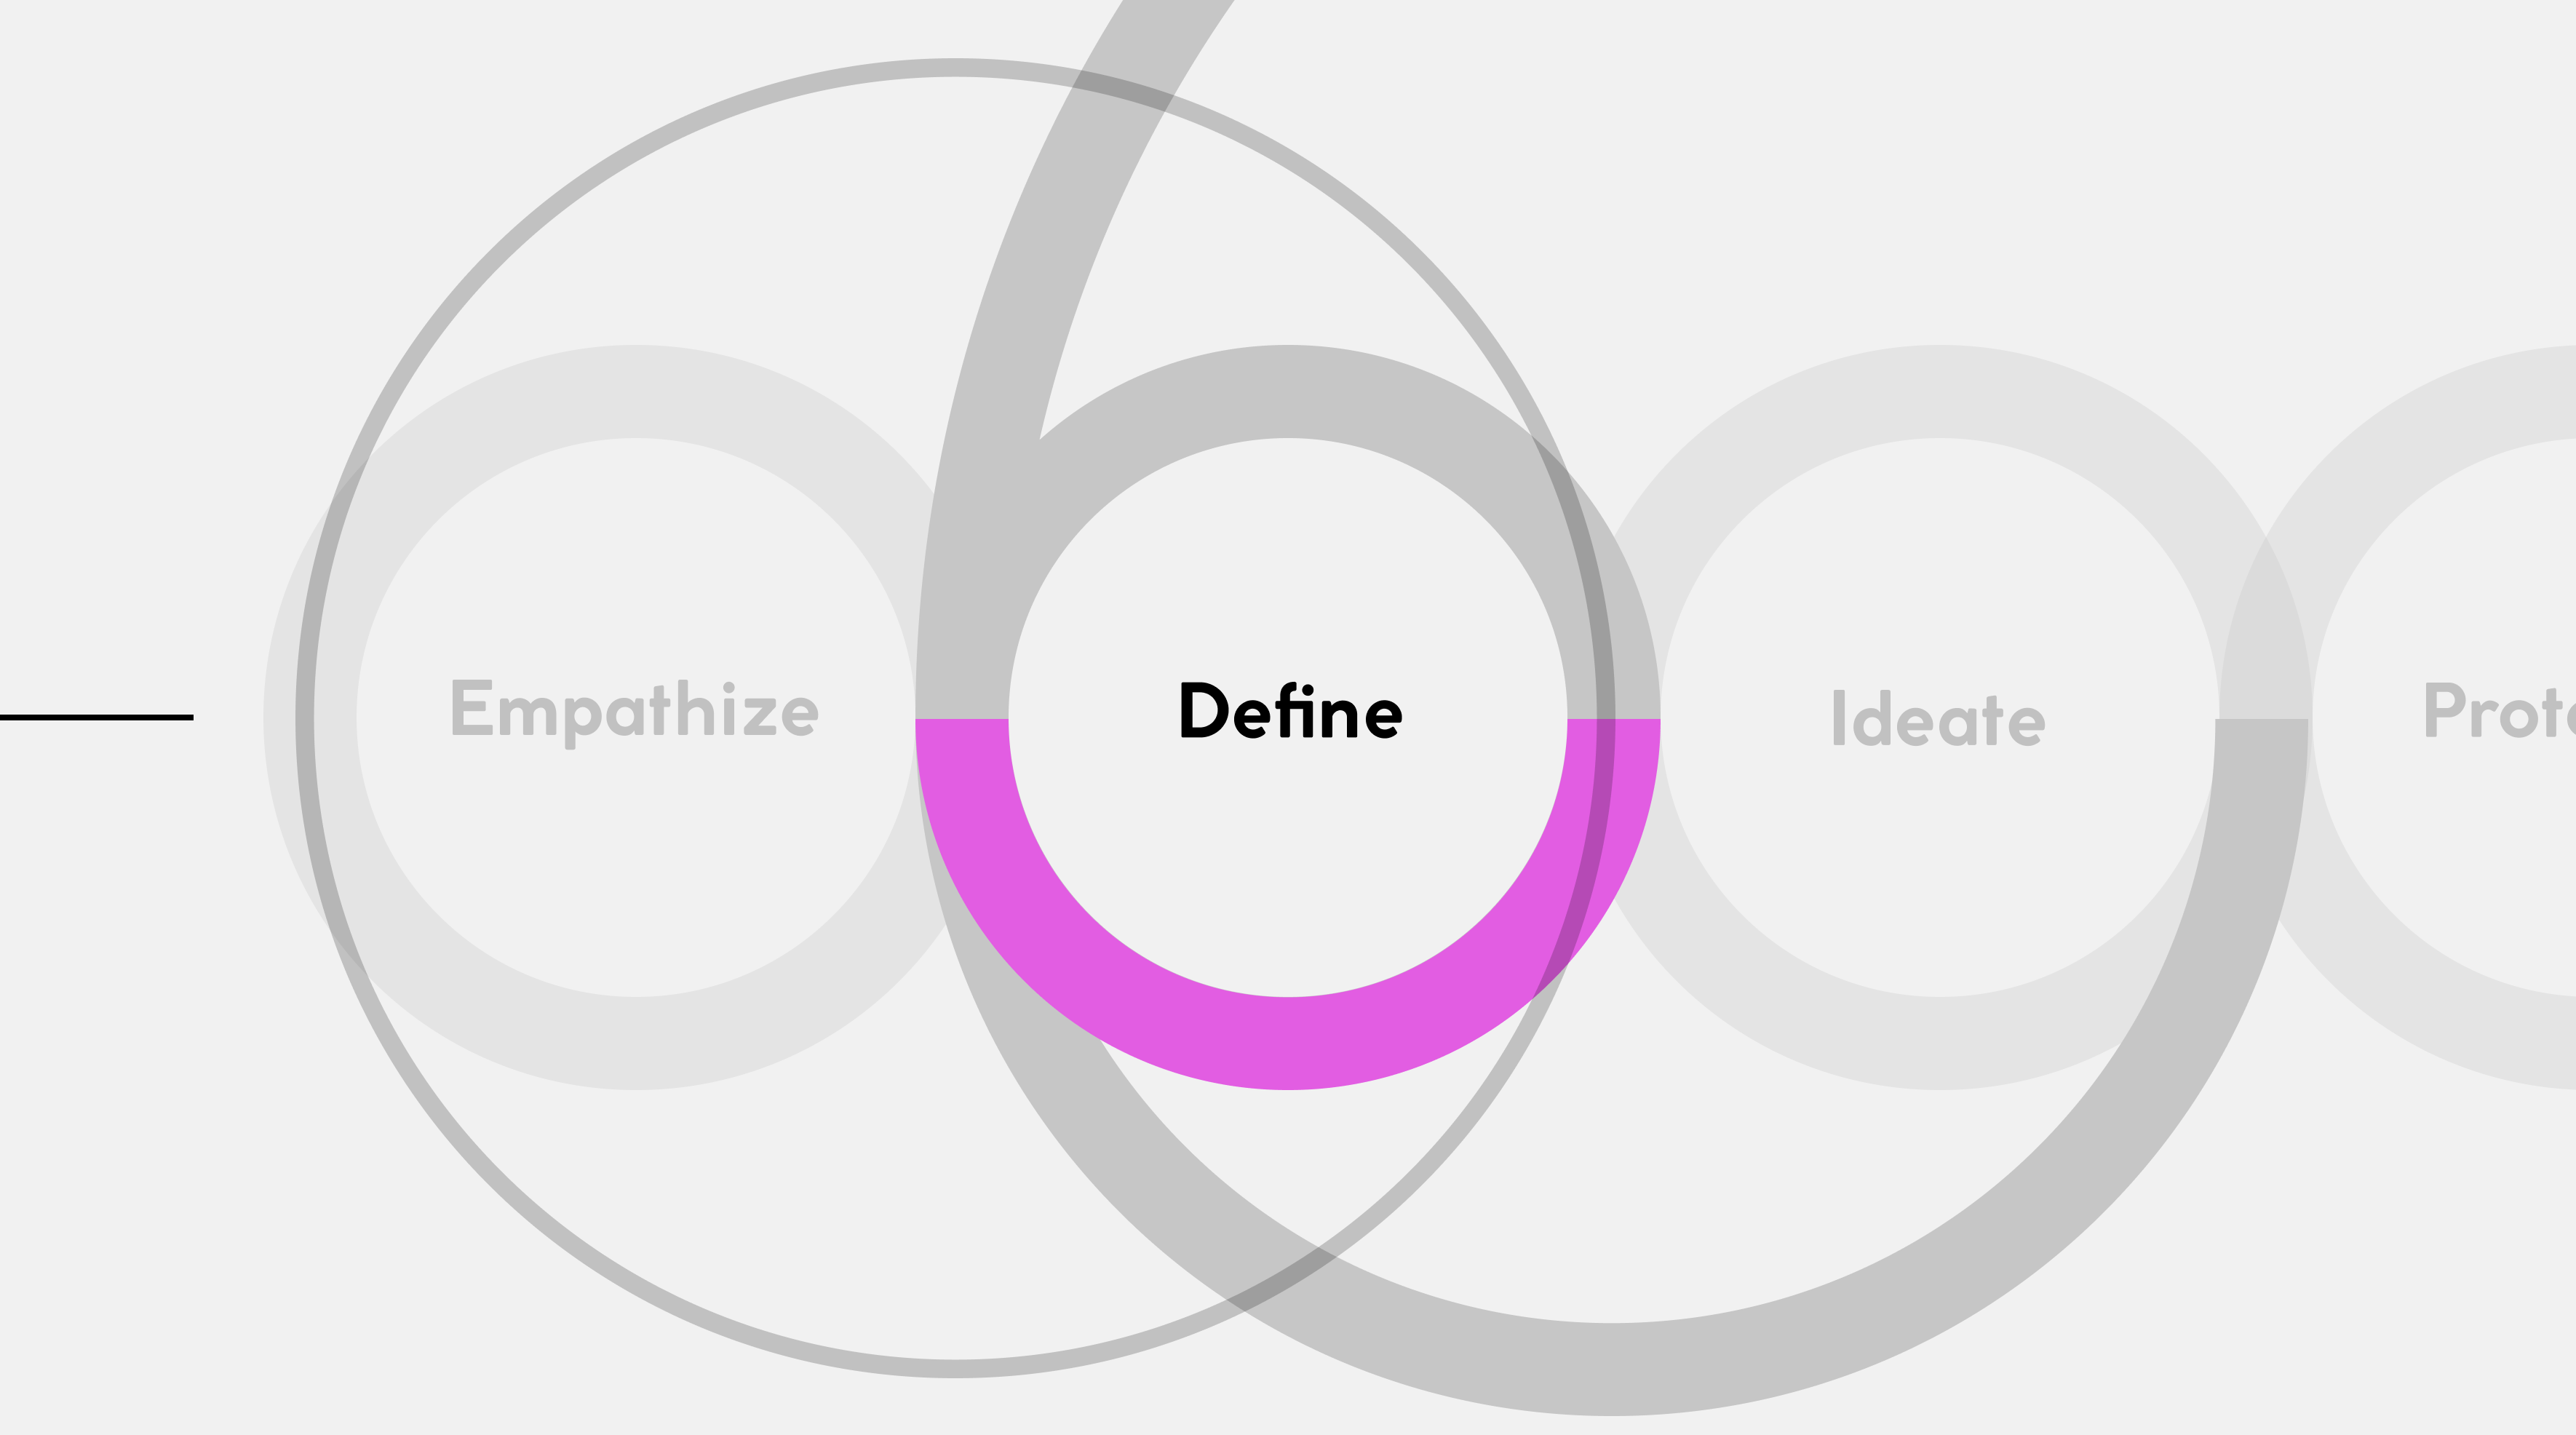
In this phase, insights from the previous step are analyzed and structured. The clear definition allows the design team to work specifically on the challenge and develop innovative solutions. This phase is crucial to ensure that the team is working on a well-understood and relevant problem before focusing on idea generation and prototype development.
Methods I like to apply in this phase:
Value Proposition Canvas
The Value Proposition Canvas is a specifically developed tool to understand and further develop the benefits of a product or service. Unlike the Product Canvas, the Value Proposition Canvas aims to understand and improve the value proposition for customers. I like to use it to develop a deeper understanding of the target group and to ensure that the product or service is exactly tailored to their needs.
Useful sources: https://digitaleneuordnung.de/blog/value-proposition-canvas/ https://www.strategyzer.com/library/the-value-proposition-canvas https://medium.com/@adam.fard/value-proposition-canvas-the-whats-whys-hows-51eb539eb6ab
Product Canvas
A Product Canvas is a tool that helps to structure and visualize the key elements of a product. Unlike the Value Proposition Canvas, which addresses the needs of the customers, the goal of a Product Canvas is to develop a holistic understanding of the product itself and drive its development. It helps me as a designer to bring the product team and stakeholders onto the same page. This way, I can ensure that everyone has a clear, unified understanding of the product. There are several templates that you can use for the Product Canvas. Depending on which program you prefer to work with, you can use the FigJam template.
Useful sources: https://www.figma.com/community/file/1103313898669811347/product-development-canvas https://www.mendix.com/blog/a-practical-guide-to-the-product-canvas/ https://medium.com/managing-digital-products/using-the-product-canvas-to-define-your-product-getting-started-efd2889958f6
Customer Journey Mapping
As a designer, I need to understand the entire process of a product that a customer goes through when they come into contact with a product or service. I very much like to use the method of Customer Journey Mapping to visualize this. This technique helps me to sketch all different phases and touchpoints, starting from the discovery of the product to any positive or negative experiences (important: room to improve!) the user has.
Useful sources: https://www.nngroup.com/articles/journey-mapping-101/ https://www.qualtrics.com/de/erlebnismanagement/kunden/customer-journey-map/ https://www.figma.com/community/file/1028102440297541271/customer-journey-map?searchSessionId=lucqo7xh-ls7es1fnvz
User Story Mapping
In contrast to the Customer Journey Map, which focuses on the holistic process, User Story Mapping is used to focus on the development of product features and requirements. The basis of a User Story Map are user stories, which are based on the query “As a … I want to … so that I …”. By arranging the user stories, I can get a comprehensive overview of the product or process with the team. It allows me to group and prioritize features and create a clear roadmap for development.
Useful sources: https://www.nngroup.com/articles/user-story-mapping/ https://t2informatik.de/wissen-kompakt/user-story-mapping/ https://www.figma.com/community/file/966983476082353135/user-story-map-template?searchSessionId=lucqot52-axw73tdcgb
Other methods that help develop a clear understanding of the problem:
Empathy Mapping
An Empathy Map is a visual tool that serves to develop a deep understanding of the needs, feelings and perspectives of a target group. When creating an Empathy Map, typically four main areas are considered:
“What is the user thinking?” “What is the user feeling?” “What is the user saying?” “What is the user doing?”
Each area is further specified by questions or placeholders to get the team to put themselves in the position of the user and to immerse themselves in his thoughts, feelings, statements and actions.
Useful sources: https://www.nngroup.com/articles/empathy-mapping/ https://www.nngroup.com/videos/using-empathy-maps/ https://www.interaction-design.org/literature/article/empathy-map-why-and-how-to-use-it https://www.figma.com/community/file/880144659474768356/empathy-map-with-open-peeps
Phase 3: Ideate
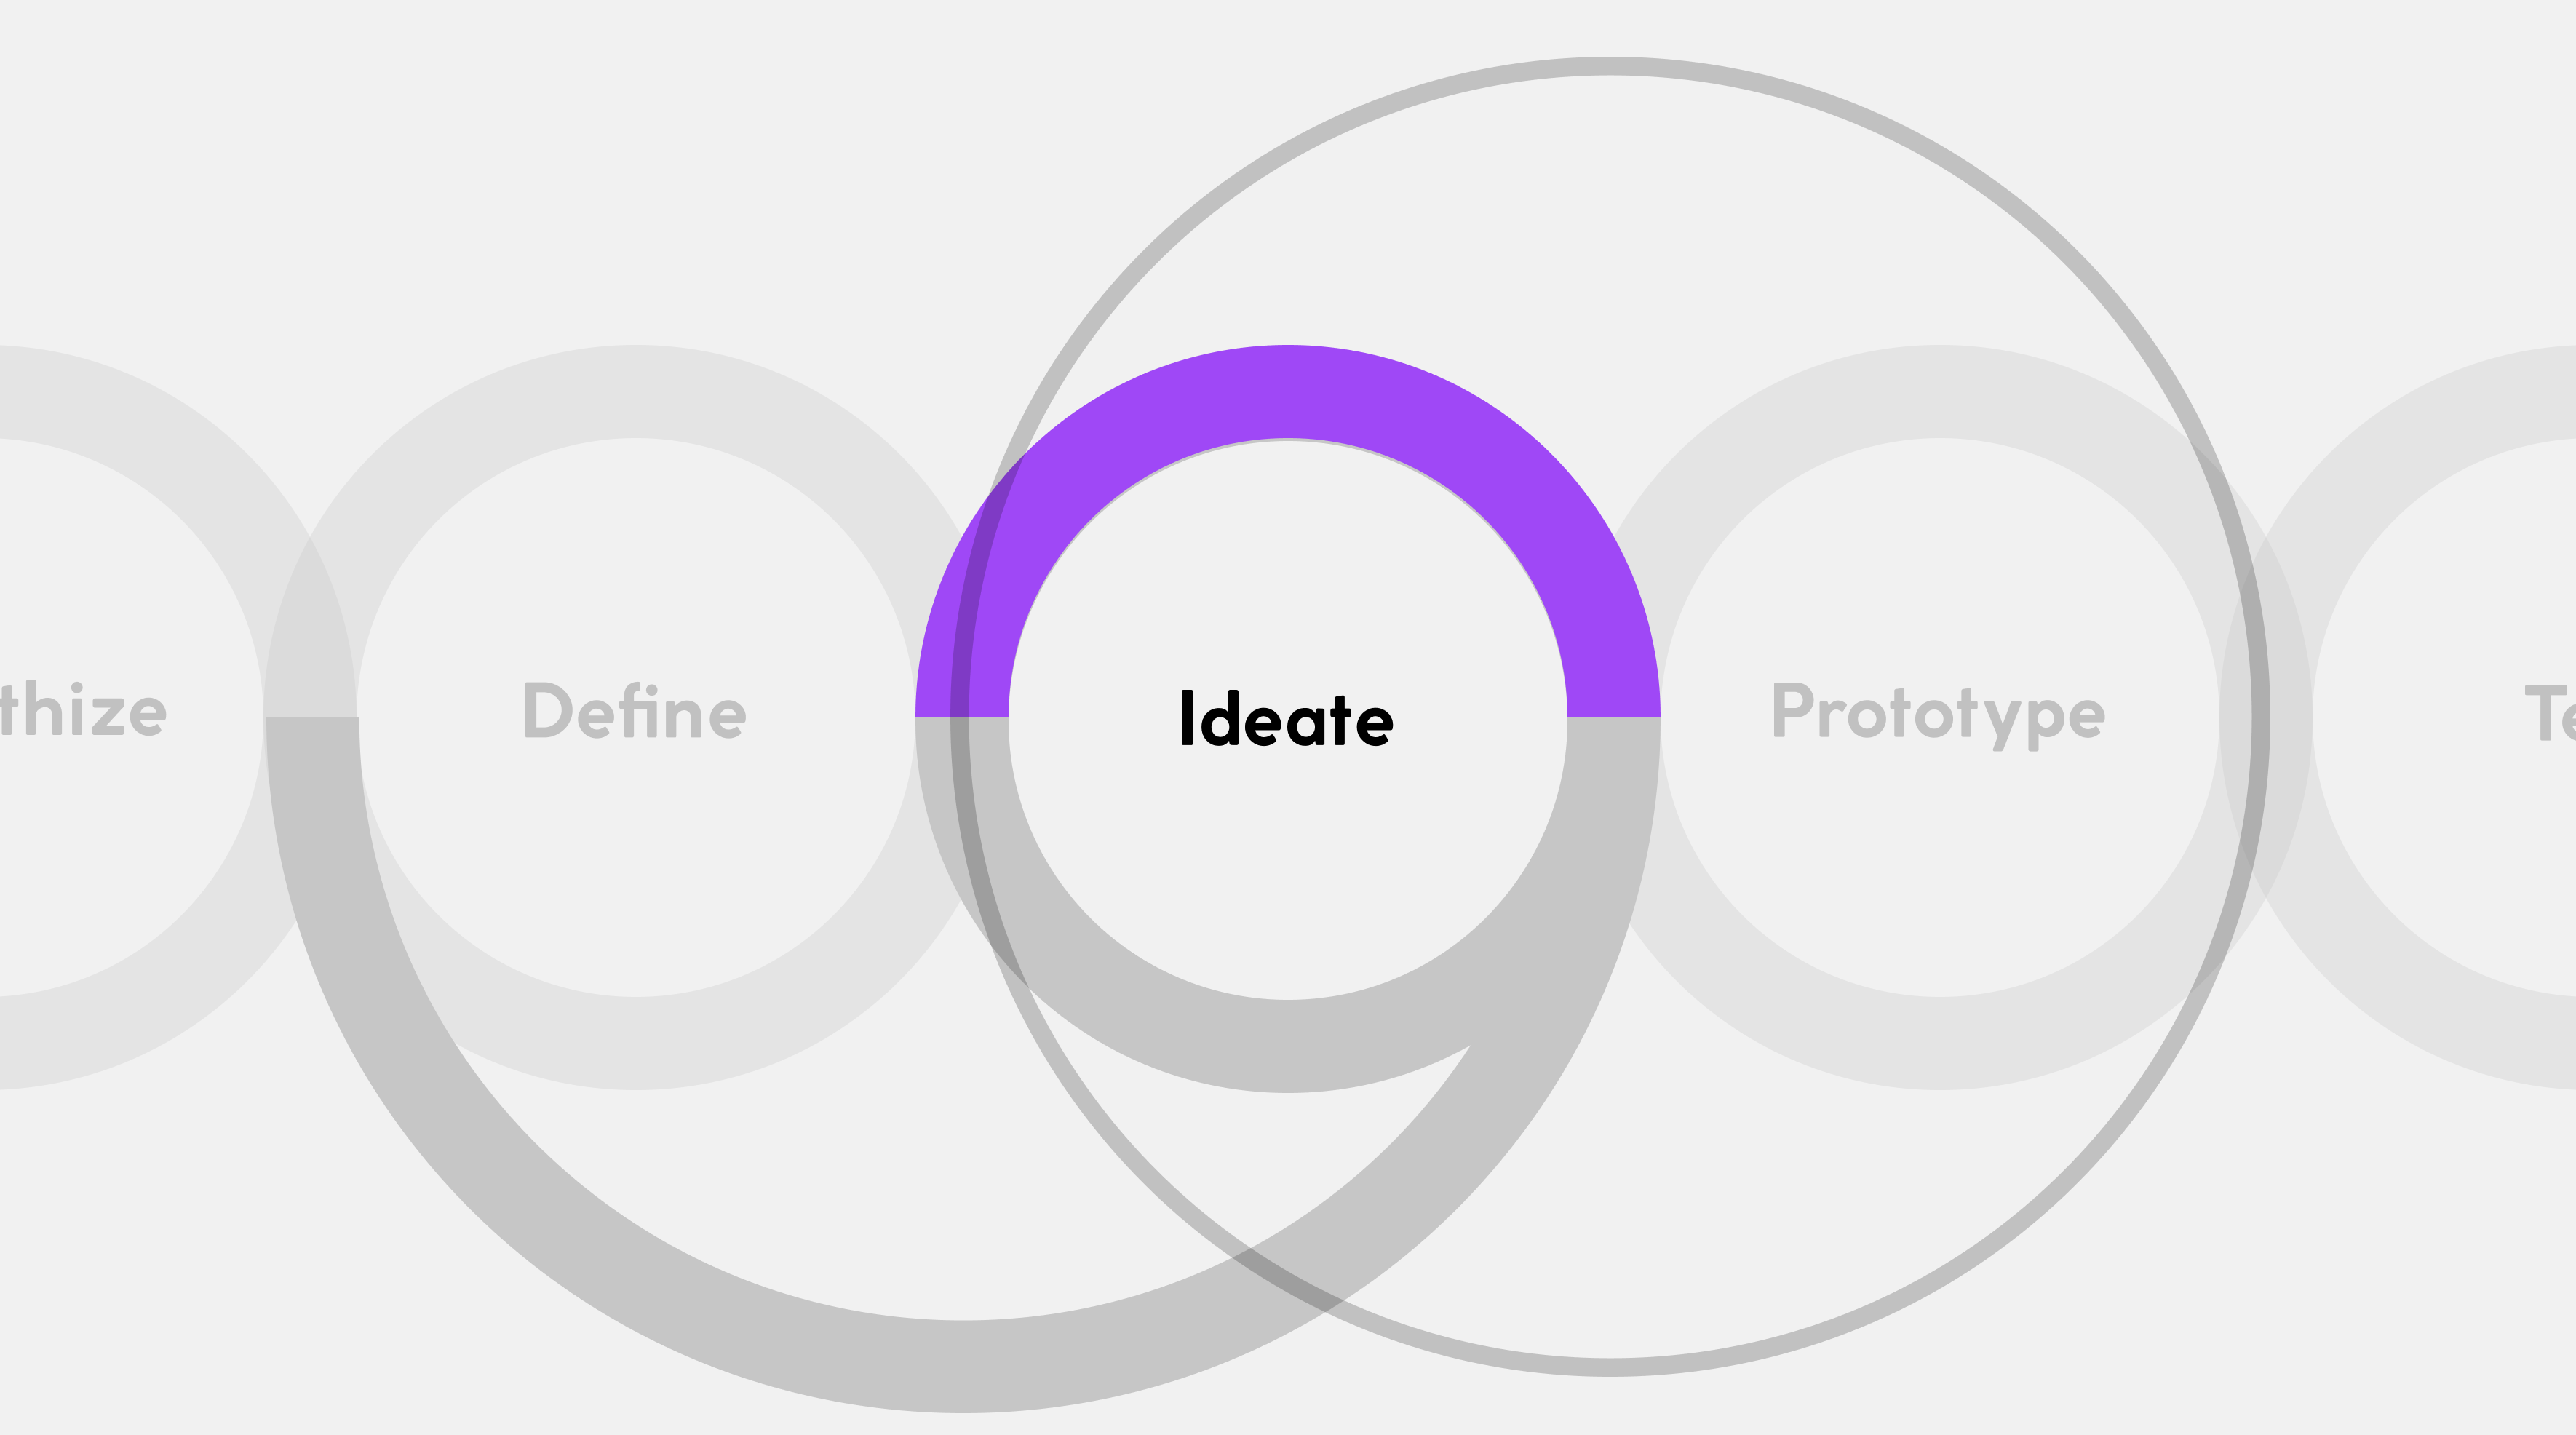
The Ideate phase in Design Thinking is the third step of the Design Thinking Process. In this phase, it’s about generating a variety of creative ideas to find innovative solutions for the previously identified problem or challenge. The aim is to approach the problem openly and unrestrictedly and to open one’s perspective. This phase is again very much about discovery; be open and playful, nothing is too crazy or courageous – for now.
Methods I like to use in this phase:
6-W Method
The 6-W Method is an extension of the classic 5-W-Questions (Who, What, When, Where, Why) and adds a sixth question, “How”. We like to use this method because it helps us gather information, analyze problems and fully understand a matter. The typical 6-W Questions are:
“Who is the user?” “What does/wants the user to know?” “Where is the experience?” “When is the user there?” “Why is the user there? With what goal?” “How does the user reach the goal?”
Useful sources: https://designthinking-methods.de/1Empathie/6w.html https://www.quality.de/lexikon/6w-methode/#:~:text=Die https://miro.com/de/templates/fuenf-warums/
Walt Disney Method
The “Walt Disney Method is not a formal creative technique in the conventional sense, but rather an approach to problem-solving and idea development. In this method, either individuals or groups sequentially take on three different roles. We use the Walt Disney method in the team, as we can creatively develop new ideas and approaches through the prescribed change of perspective. At the same time, however, we also have the opportunity to directly check the resulting idea for its feasibility.
The role of the Walt Disney Method
The Dreamer The Dreamer generates ideas without restriction and full of imagination. The question in the foreground here is: “What would be possible if there were no limits?”
The Realist The Realist takes on the role of implementation. Here, dreams and ideas are checked for their feasibility. The focus is on the question: “How could we implement these ideas into reality?”
The Critic The Critic questions and checks to ensure that the ideas are robust and well thought out. The central question here is: “What could go wrong and how can we handle these challenges?”
Useful sources: https://kreativitätstechniken.info/ideen-generieren/walt-disney-methode/ https://www.orghandbuch.de/Webs/OHB/DE/OrganisationshandbuchNEU/4_MethodenUndTechniken/Methoden_A_bis_Z/Walt_Disney_Methode/Walt_Disney_Methode_node.html https://blog.hubspot.de/marketing/walt-disney-methode
Further methods that can be applied to develop a variety of ideas:
SCAMPER Method
The SCAMPER Method is a creative technique used to rethink existing ideas and create new perspectives for problem solving or idea development. It is particularly useful when the ideation process stalls. The term “SCAMPER” is an acronym and consists of various creative prompts.
S - Substitute: What could be replaced to achieve an improvement?
C - Combine: Which ideas or elements could be combined?
A - Adapt: How could the current concept be adapted or changed to make it better?
M - Modify: Which parts or aspects could be modified or changed?
P - Put to Another Use: Can the idea be used in a different context or for a different purpose?
E - Eliminate: Which parts, steps or aspects could be eliminated to simplify the concept?
R - Reverse/Rearrange: What about reversing the order or rearranging elements differently?
Useful sources: https://kreativitätstechniken.info/ideen-generieren/scamper/ https://blog.hubspot.de/marketing/scamper https://karrierebibel.de/scamper-kreativtechnik/
6-3-5 Method
The 6-3-5 Method utilizes the collective intelligence and creativity of the group to quickly generate a variety of ideas. Through the exchange and further development of ideas between the participants, a wide range of approaches and possible solutions emerge. In this method, six participants each write down three ideas in five minutes on a sheet of paper. Afterwards, the papers are passed on to the other participants, who add further ideas based on them.
Useful source: https://kreativitätstechniken.info/ideen-generieren/6-3-5-methode/ https://t2informatik.de/wissen-kompakt/6-3-5-methode/
Crazy 8 Method
The Crazy 8 Method is a creative technique aimed at quickly generating many ideas. The name “Crazy 8” refers to the fact that participants try to develop eight ideas on a specific topic or problem in a short time span of about eight minutes.
Useful sources: https://kreativitätstechniken.info/methode/crazy-8/ https://www.brainbirds.com/de/glossar/crazy-8 https://www.figma.com/file/C6LXH9SSLrX3or7KXQeF8H/Brainstorm-crazy-8s-(Community)?type=whiteboard&node-id=0%3A1&t=SjJa59vj2PFeDxZv-1
5-Why Method
The 5-Why Method is a simple but powerful technique for root cause analysis of problems. The core idea is to identify the deeper cause of a problem by repeatedly asking “Why?”. Or rather: Why, why, why, why, why – until the actual cause is found.
Useful sources: https://blog.hubspot.de/sales/5-why-methode#:~:text=So https://digitaleneuordnung.de/blog/5-why-methode/ https://conceptboard.com/de/blog/5-why-template/
Phase 4: Prototype
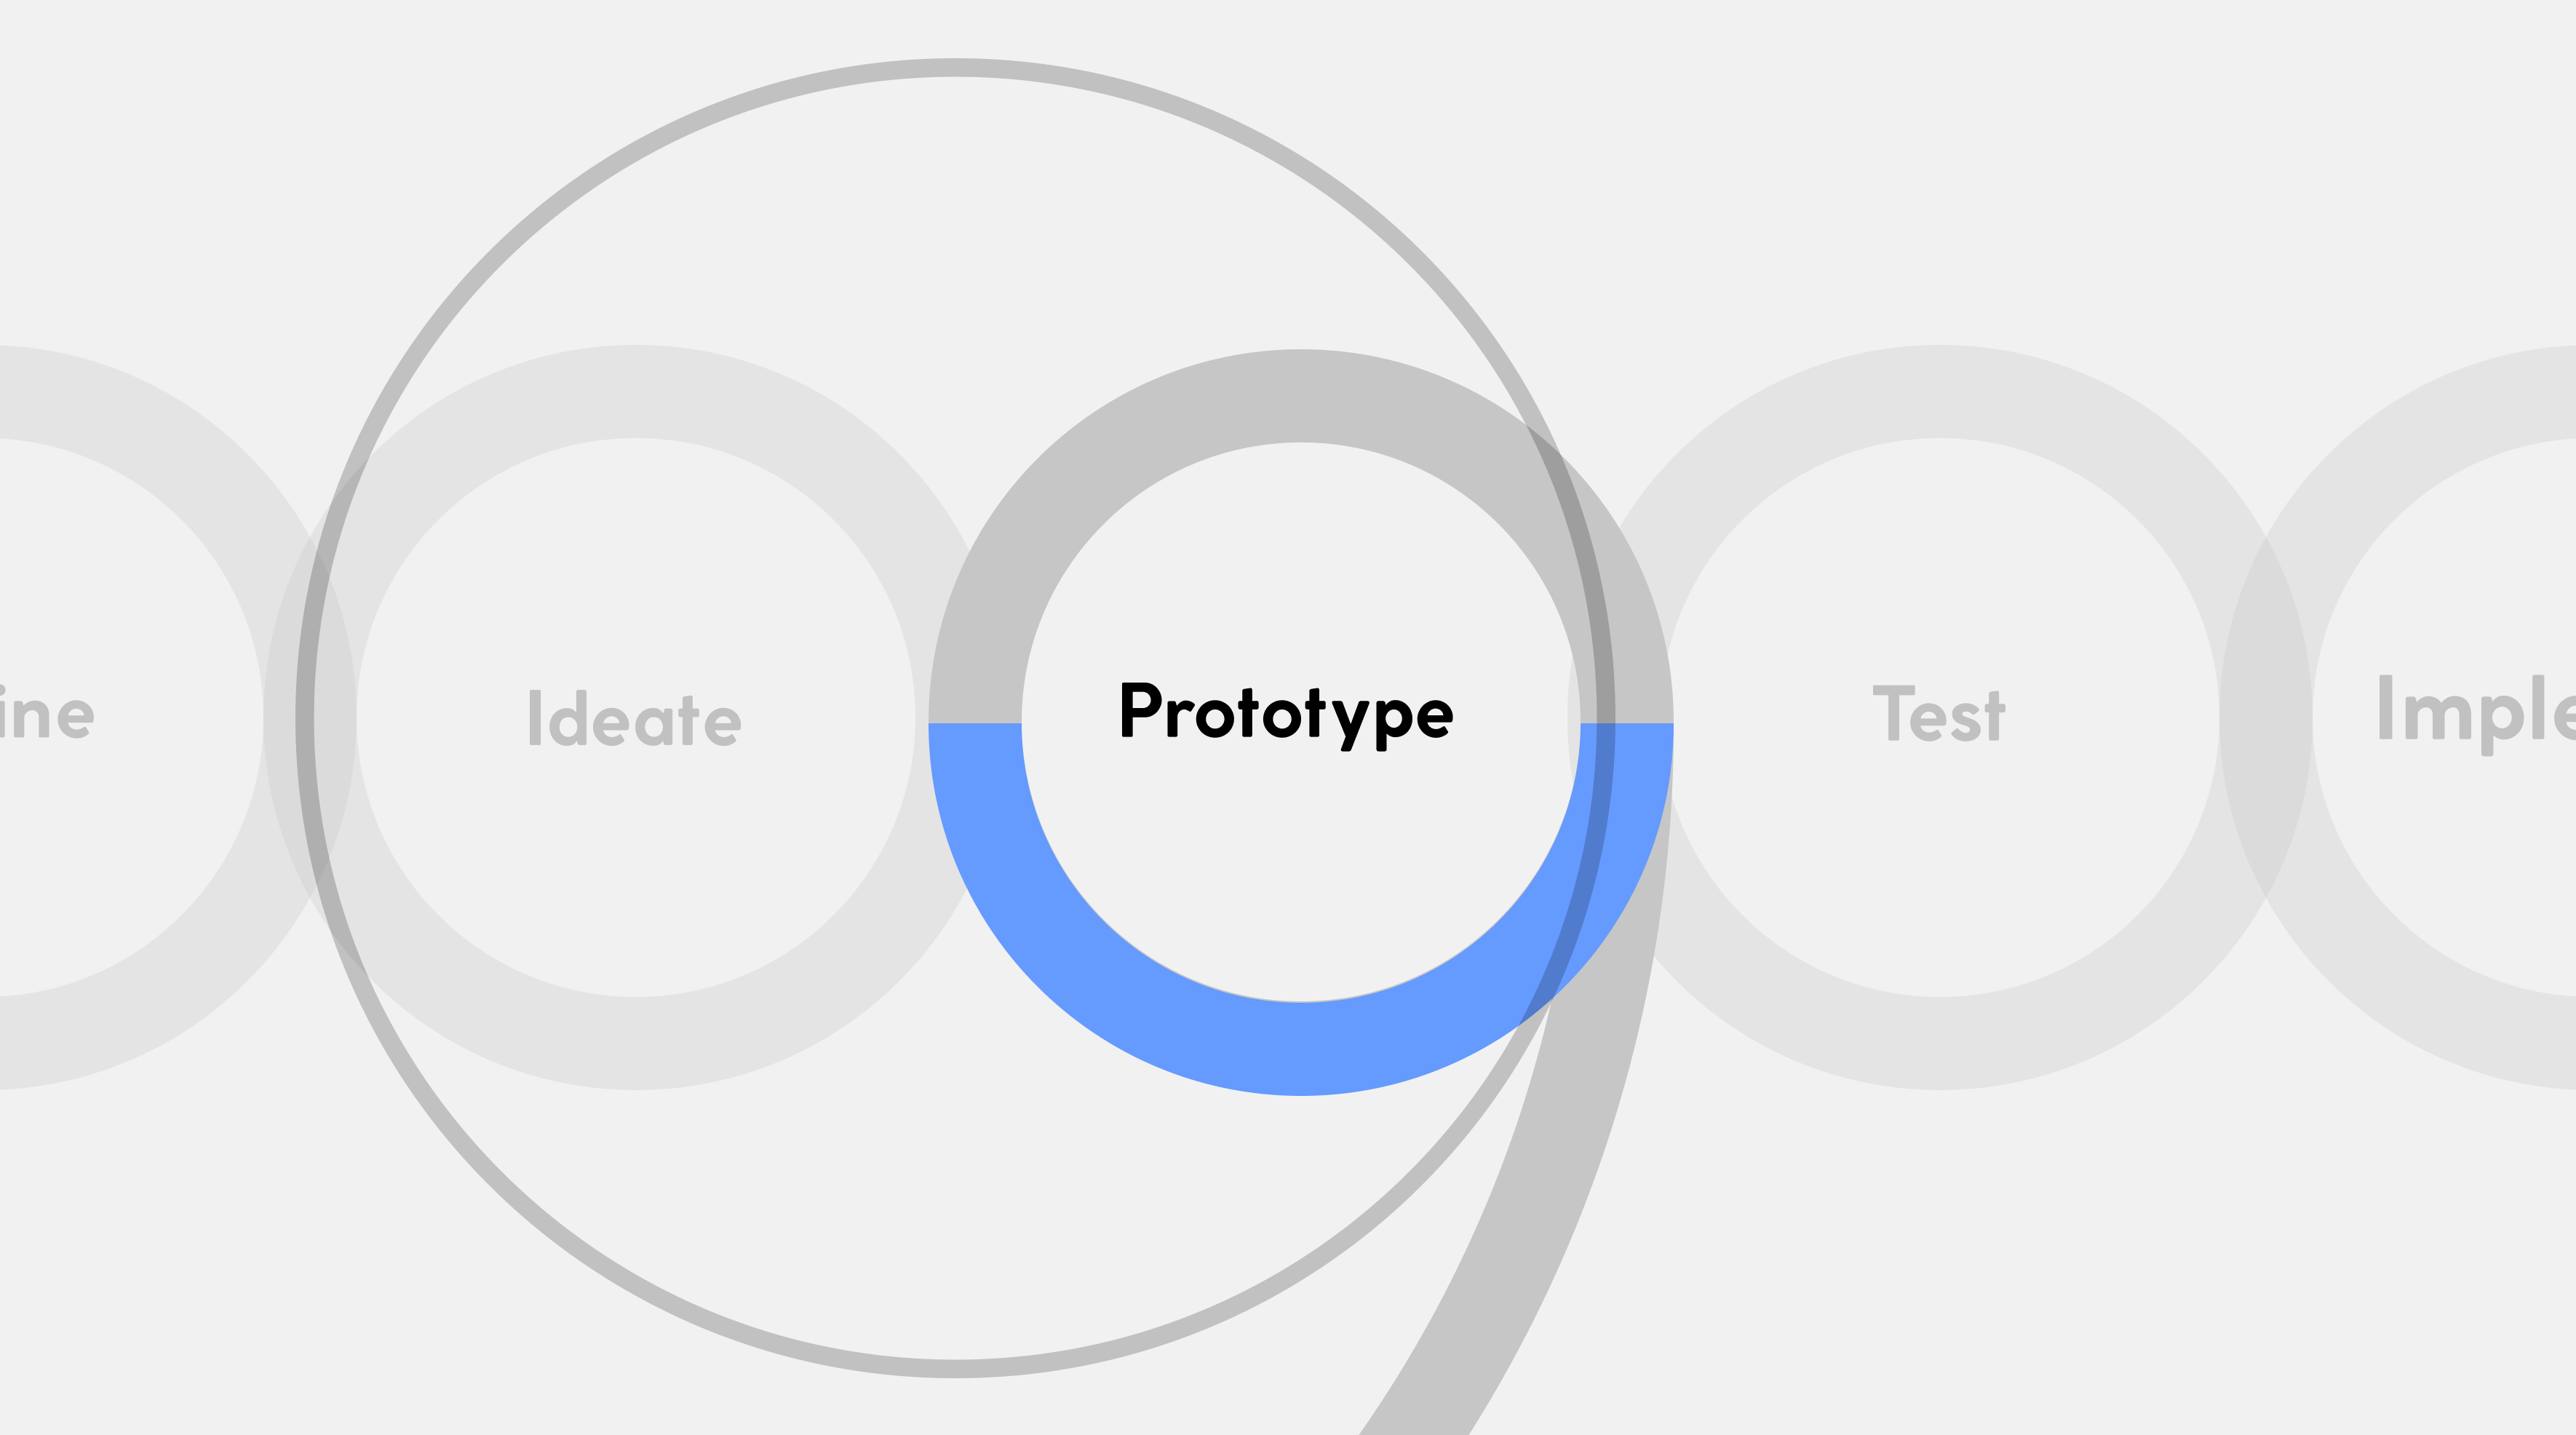
The Prototyping phase in Design Thinking allows us to receive real feedback early in the development process, identify risks and make iterations to optimize the possible solution. It is a key step to ensure that the developed solution truly meets the needs of the users and is practical. With prototyping you can test things out very fast. Some ideas will fail, but failing fast is natural part of the design process.
Methods that I like to apply in this phase to make the ideas tangible and visually represent:
Flowchart
A flowchart is an effective method to present complex information simply and visually. It represents the steps of a process in the form of symbols, shapes and arrows that clarify the logical order and relationships between the individual elements. I utilize this method to visually represent processes and workflows. Often, I involve the customer early in the process to directly develop the right diagram for our needs. This way, I can recognize early on whether the developed concept works or if important points are still missing. I like FigJam to create flow charts. There, I can easily, quickly and flexibly build my story.
Useful sources: https://www.nngroup.com/articles/wireflows/ https://www.figma.com/de/resource-library/how-to-create-a-flow-chart/ https://www.figma.com/de/vorlagen/flussdiagramme-vorlage/
Wireframing
A Wireframe is essentially a schematic representation that focuses on the basic structures and functions without worrying about visual details, colors, or content. Often I combine Wireframing with other techniques like Mind Mapping to scribble rough concepts, User Stories (cases) and ideas in FigJam. The focus is always on the arrangement of elements, navigation, placement of content and interactions.
Useful sources: https://www.nngroup.com/articles/draw-wireframe-even-if-you-cant-draw/ https://www.figma.com/de/resource-library/what-is-wireframing/
Prototyping
Prototyping is an essential step in the design and development process, where a preliminary model or a pre-version of a product is created to test concepts, examine functions and rethink design decisions. There are different types of prototypes, including low-fidelity prototypes such as paper sketches or wireframes, mid-fidelity prototypes that are more interactive (with e.g. Figma), up to high-fidelity prototypes that come very close to the final product (with e.g. ProtoPie).
Immediately following the creation of the prototypes, the 5th phase begins, in which the developed prototypes are tested with users. So let’s continue directly with this phase 🙂
Useful sources: https://www.nngroup.com/videos/prototyping-tool/ https://www.nngroup.com/videos/paper-prototyping-101/ https://www.nngroup.com/articles/ux-prototype-hi-lo-fidelity/ https://www.uxpin.com/studio/blog/paper-prototyping-the-practical-beginners-guide/ https://www.figma.com/de/resource-library/prototyping/ https://www.protopie.io/
Phase 5: Test
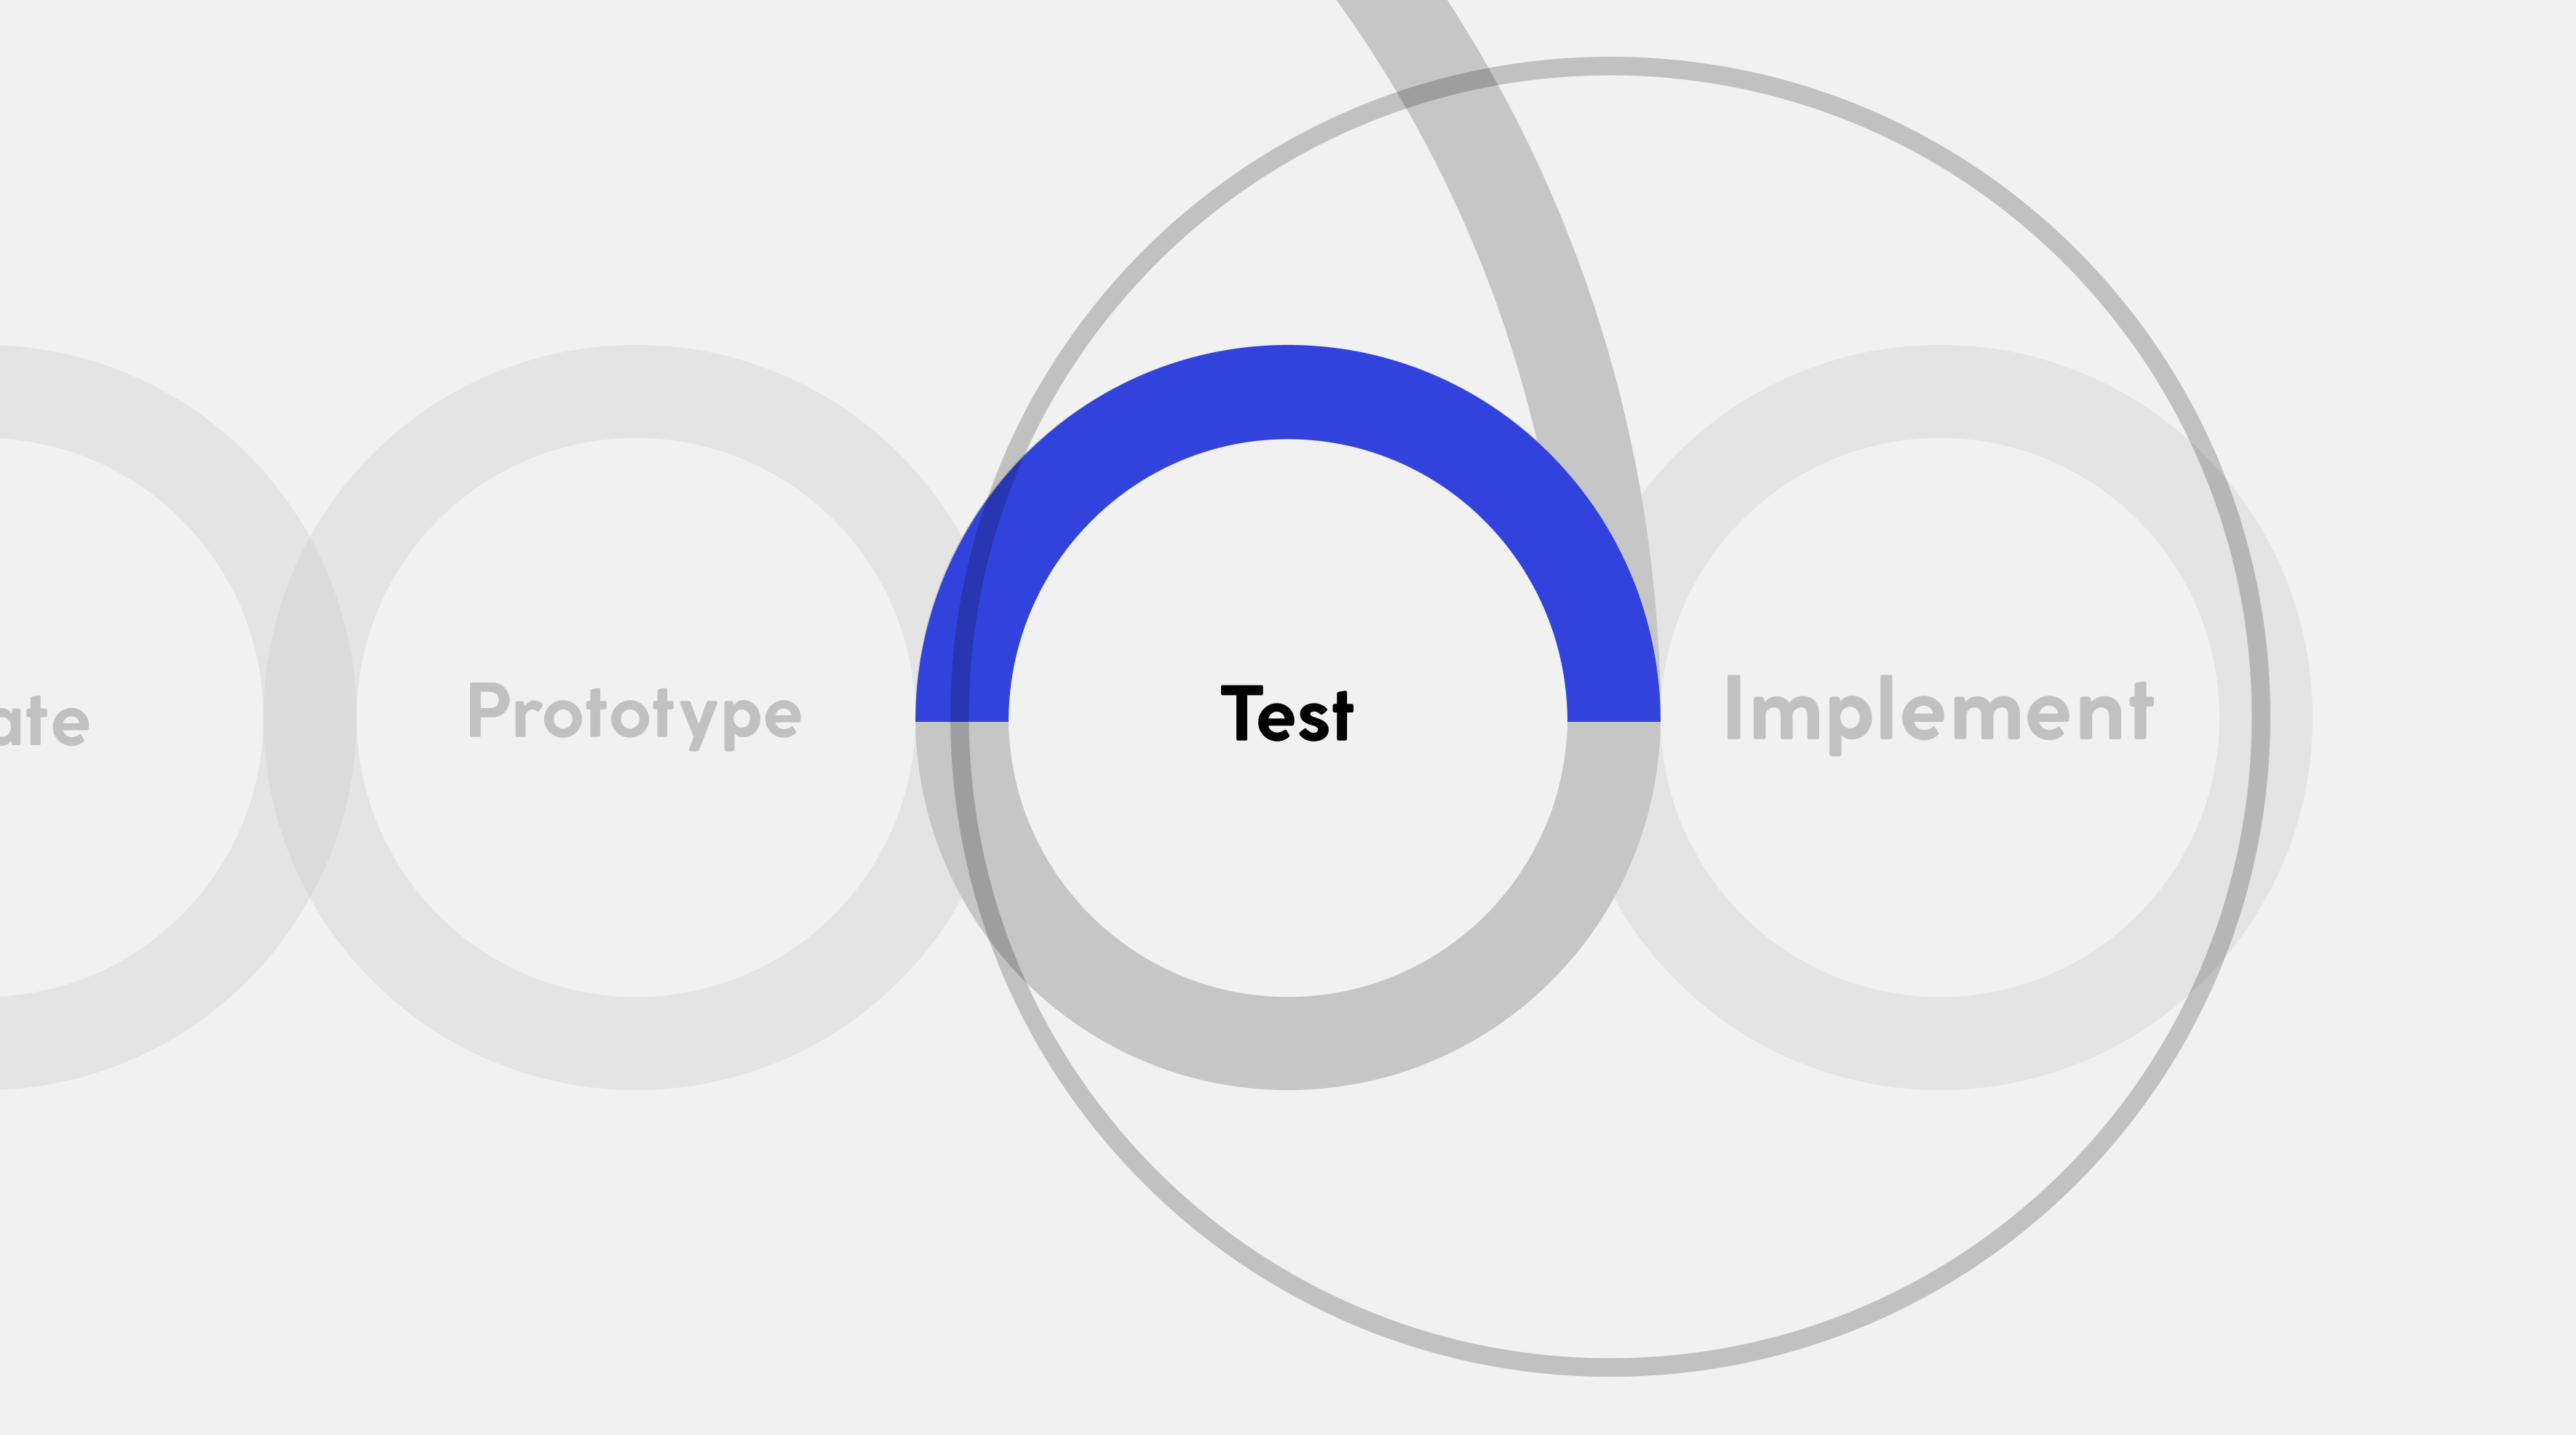
In this phase, the developed ideas and prototypes, which were developed during the previous prototyping phase, are tested with the end users and relevant stakeholders. The main goal is to collect feedback on how well the solution works and how it is perceived by the users.
Methods that I like to use to test the developed ideas and created prototypes with the users:
Tree Testing
In this type of testing, users are asked to perform certain tasks by navigating through the hierarchy or structure of a text-based navigation tree. Tree Testing focuses on the efficiency and accuracy with which users can find certain information or features in the navigation structure. We do not use a specific program for Tree Testing. We mostly use FigJam, a simple bullet point list or even Post-its.
Useful sources: https://www.nngroup.com/articles/tree-testing/ https://www.nngroup.com/articles/interpreting-tree-test-results/ https://uxplanet.org/tree-testing-a-complete-guide-511c857b79e3
Card Sorting
Card Sorting provides valuable insights into the users’ way of thinking and can help improve the usability and effectiveness of products. In this process, users of a software or application name and sort cards with the corresponding contents of the system from their perspective. Based on these results, a user-friendly navigation concept is developed, for example. We usually use a board in FigJam for this or Post-its if IRL.
How is card sorting applied
Preparation of the cards:
The cards (labelled with words or pictures) are prepared.
Sorting by participants:
The participants sort the cards based on their priorities or organize them into groups.
Analysis of the results:
The results are analyzed to identify common patterns and themes.
Useful sources: https://www.nngroup.com/articles/card-sorting-definition/ https://medium.com/ux-planet/card-sorting-in-product-design-8a972522e640
Think-Aloud Testing
The Think-Aloud Method provides insights into the natural thought process of users and is an effective way to understand the user perspective. In this case, participants are asked to voice their thoughts, considerations and actions aloud while performing a specific task or interacting with a product. It is often used in combination with other usability testing methods, such as eye-tracking, screen recording, heat maps, Card Sorting, Tree Testing or surveys, to gain comprehensive insights and improve the user-friendliness of products. We often use the think-aloud method in combination with tree testing or card sorting. Here we can observe the customer and actively ask him to share his thoughts with us. As a team, we have created a template for it in Notion you can use 🙂
Useful sources: https://www.nngroup.com/articles/thinking-aloud-the-1-usability-tool/ https://www.nngroup.com/videos/think-aloud/ https://de.ryte.com/wiki/Thinking_Aloud_Test https://www.wissensmanagement.gv.at/Thinking_aloud_Verfahren https://medium.com/@uxtbe/how-to-prepare-a-think-aloud-test-bee529092850
Further methods that can be applied to test the developed ideas and prototypes:
A/B Testing
A/B testing is a method where two or more versions of a product, webpage or application are created to compare which version works better or is preferred. This method is often used to evaluate the effectiveness of design elements, features or content and make data-driven decisions for optimization.
Useful sources: https://www.nngroup.com/videos/ab-testing-101/ https://www.nngroup.com/articles/putting-ab-testing-in-its-place/ https://medium.com/@rk4760697/a-b-testing-in-ux-design-when-and-why-its-worth-it-99f069e3930e https://contentsquare.com/blog/ab-testing-examples/
Fake Door Testing
This method is an experimental approach to test the interest or reactions of potential users to certain features or product elements early and cost-effectively before they are actually developed.
The term “Fake Door” comes from the analogy that one creates a “fake door” or a mock product that pretends to have a certain function or offer a certain product feature.
Useful sources: https://uxdesign.cc/what-is-fake-door-testing-in-ux-fdf1e11f7287 https://medium.com/@semrush_official/how-to-improve-your-product-using-the-fake-door-method-5e77c634de12
Phase 6: Implement
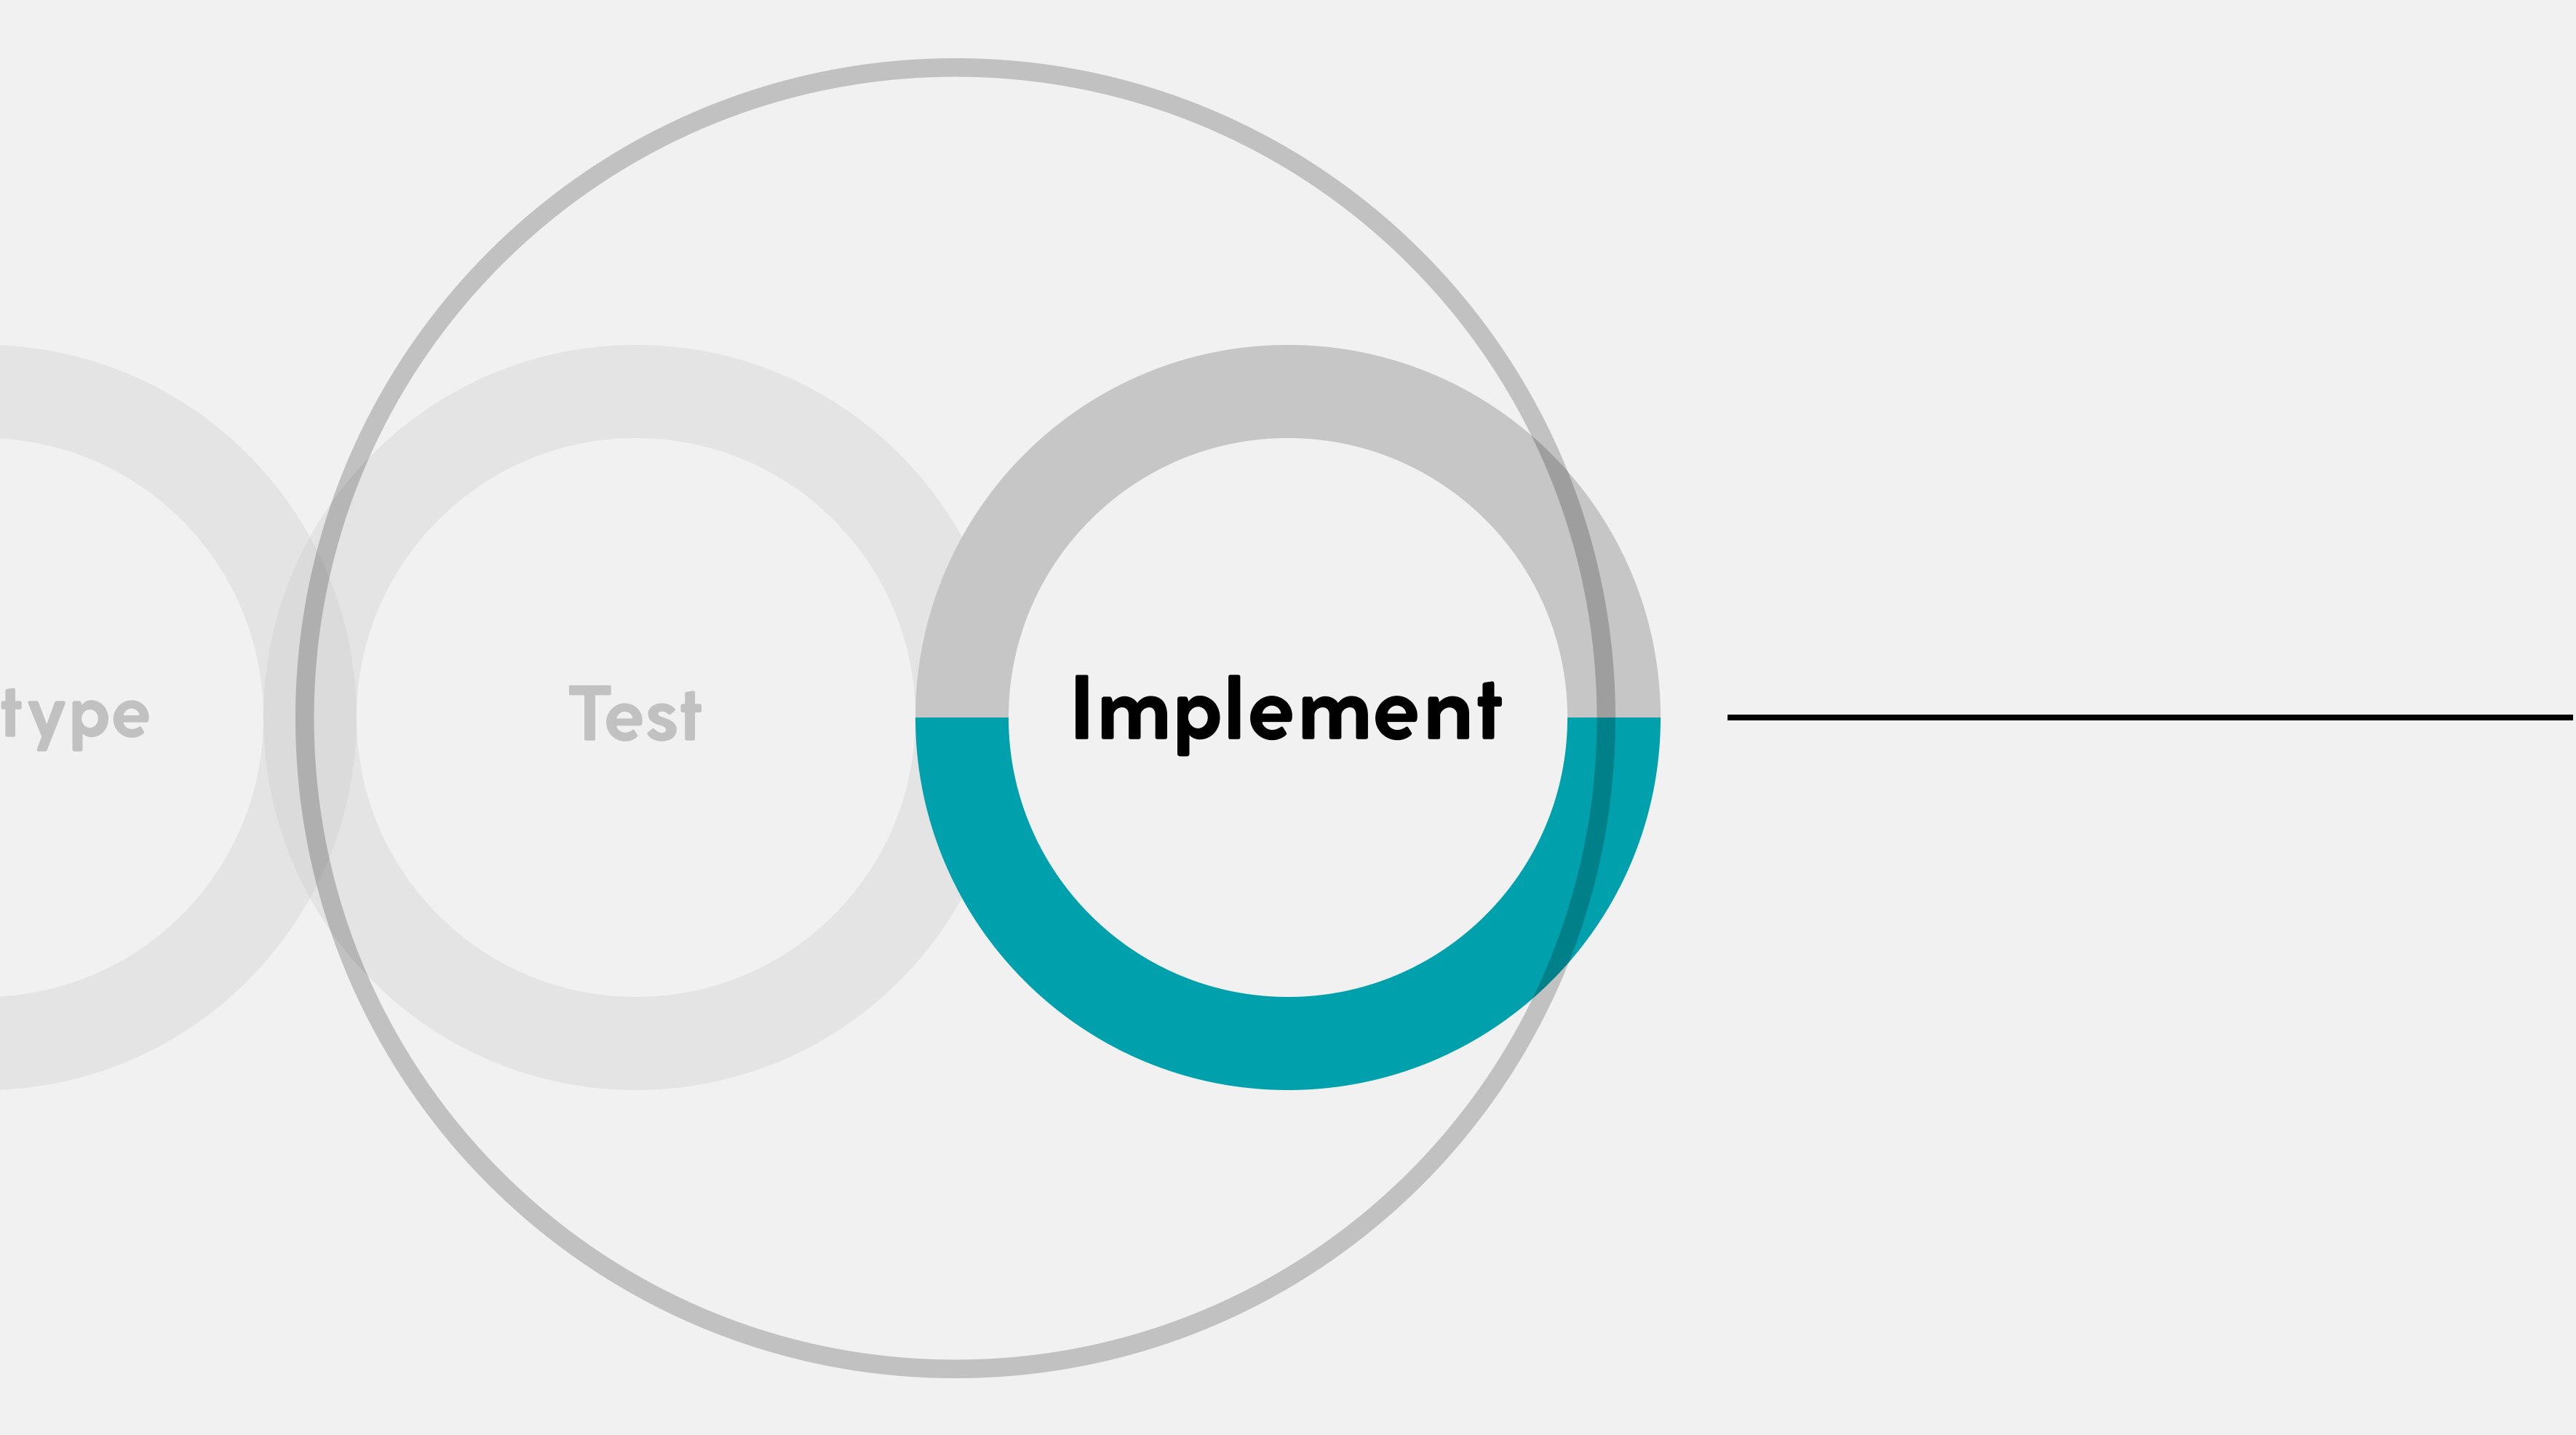
In this phase, the solution developed in the design process is actually developed or implemented. It is closely related to the implementation of concrete measures to translate the designed concept into reality. One should make sure that the chosen solution is implemented correctly and actually offers the user an improvement.
A method we apply in agile software development:
Dual Track Development
Dual Track Development (also referred to as “Dual Track Agile” or “Dual Track Scrum”) is an approach in software development that emphasizes two parallel “tracks”: the “Discovery Track” and the “Delivery Track”. This approach was developed to promote innovation and efficiency in product development, particularly when dealing with uncertainties and changing requirements.
Discovery Track
The Discovery Track focuses on eliminating uncertainties, understanding user needs, generating ideas and identifying the optimal solution before actual implementation begins. Activities include: Research, User interviews, Prototyping, Ideation, Usability tests and other activities for exploring and validating concepts.
Delivery Track
The Delivery Track is aimed at developing and delivering the already validated solutions in an iterative and step-by-step process. Activities include: Sprint planning, Development, Testing, Deployment and continuous delivery.
Useful sources: https://www.bornfight.com/blog/dual-track-agile-the-what-the-why-the-pros-the-cons/ https://jpattonassociates.com/dual-track-development/ https://medium.com/design-bootcamp/how-dual-track-development-can-save-you-from-the-feature-factory-5aab3a96e30d
Conclusion
Design Thinking is a great and fascinating field. Many processes UX UI designers intuitively carry out, but a deeper understanding of the basics gives us an advantage in understanding the problem and the needs of the users. It allows us to use our knowledge more strategically and to reach the goal more efficiently together with the team and customers.
I hope that I was able to inspire you for the topic of Design Thinking and their powerful methodes you can use.
Thanks for reading my article.
Give it a try. 🙂